Moist, Fluffy Cupcakes with Vanilla Buttercream Icing

Years ago I used to live in the West Village, three blocks from New York’s world-famous Magnolia Bakery. This was the original location, the only location for a while before it became the global phenomenon it is today. I’d never before been a fan of cupcakes but the cute little neighborhood shop was irresistible – the wonderful aroma of freshly baked cupcakes inevitably drew me in while strolling around with friends on warm summer evenings. The moist fluffy cupcakes with buttercream icing were so utterly delicious, being light and airy and topped with icing that melted in the mouth, that was sweet without being cloying.
When I moved to the other end of the island to the East Village, it wasn’t as easy to randomly drop by, the shop now being almost a 30-minute walk instead of 3 minutes. Additionally, Magnolia Bakery had become a little too famous by this time; it usually had a long line of people that wrapped around the block and even a bouncer at the door to control the crowds. I couldn’t handle the ridiculousness. It was one thing to deal with bouncers when clubbing back in the days in my youth, but lines and ropes and a bouncer in the middle of the day for cupcakes?? Sadly, the experience was headache-inducing instead of being a charming quirky neighborhood thing.

And so one day when I was craving those delicious cupcakes I thought why not bake my own batch? I had Magnolia Bakery’s recipe book which I’d bought at some point on impulse, though it had been lying around unused. The cupcakes turned out to be surprisingly simple and easy to make with just a few ingredients, even the icing was incredibly easy. I’ve been making them for many years now; each time I get the perfect moist, fluffy cupcakes that smell fantastic when I take them out of the oven – just like at the original Magnolia Bakery.
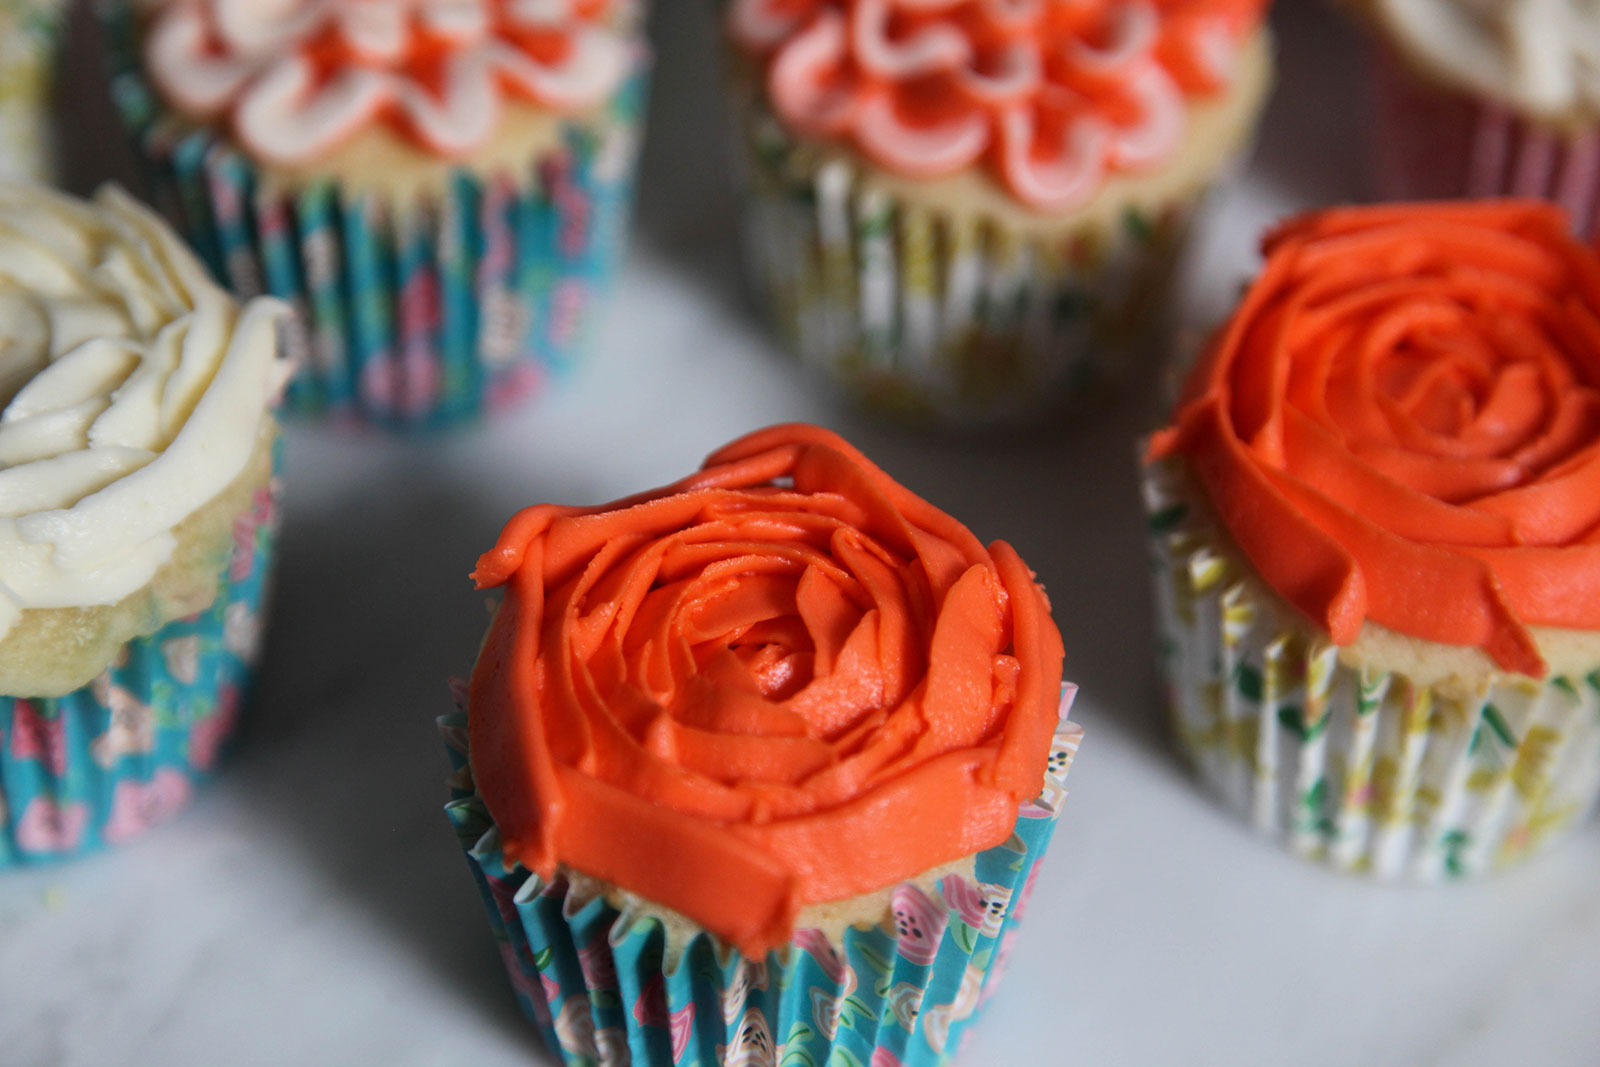
This weekend my garden (that I’m a member of) was having a bake sale for fund-raising. I decided to make the Magnolia Bakery cupcakes for it. I was in the mood to decorate, and this was the perfect excuse to unleash all those decorating fantasies I hadn’t even realized I’d been harboring. I did a flower garden theme for my cupcakes since these were for the garden.

Tools you’ll need
I bake cakes a couple of times a year and I enjoy decorating them. But lacking any basic decorating paraphernalia, I resort to snipping a tiny hole in a ziplock bag and using that as my decorating tool. This time I decided to invest in a few basic tools so I can continue with fun decorations in the future.
If you’d like to do some fancy decorations, you may want a few of the following tools:
- Piping tips: read this for a guide to piping tips. To make the rosette decoration, I used tip #103. I bought a set of tips, but found the 103 to be so versatile that I used it for a bunch of decorations.
- Piping bags: these are useful for holding the icing and maneuvering at specific angles needed to get certain shapes. I used 12-inch piping bags (visit this page for instructions on how to use a piping bag).
- Couplers: are useful in holding the tip, and especially to switch out tips (to get different shapes) while using the same icing bag.
- Icing bag ties (optional): you’ll need to tie the bag so the icing doesn’t push back out as you’re squeezing the bag. Because I was excited about decorating supplies I got icing bag ties, but I realized they weren’t necessary and I could have just used rubber bands.
Baking tools:
- To bake cupcakes, I use a 12-cup muffin pan.
- I also used cupcake liners since I was making the cupcakes for others. When baking cupcakes for home, I sometimes forego liners and instead just grease the pan with butter.
- You’ll also need a measuring cup and measuring spoons.

Tips
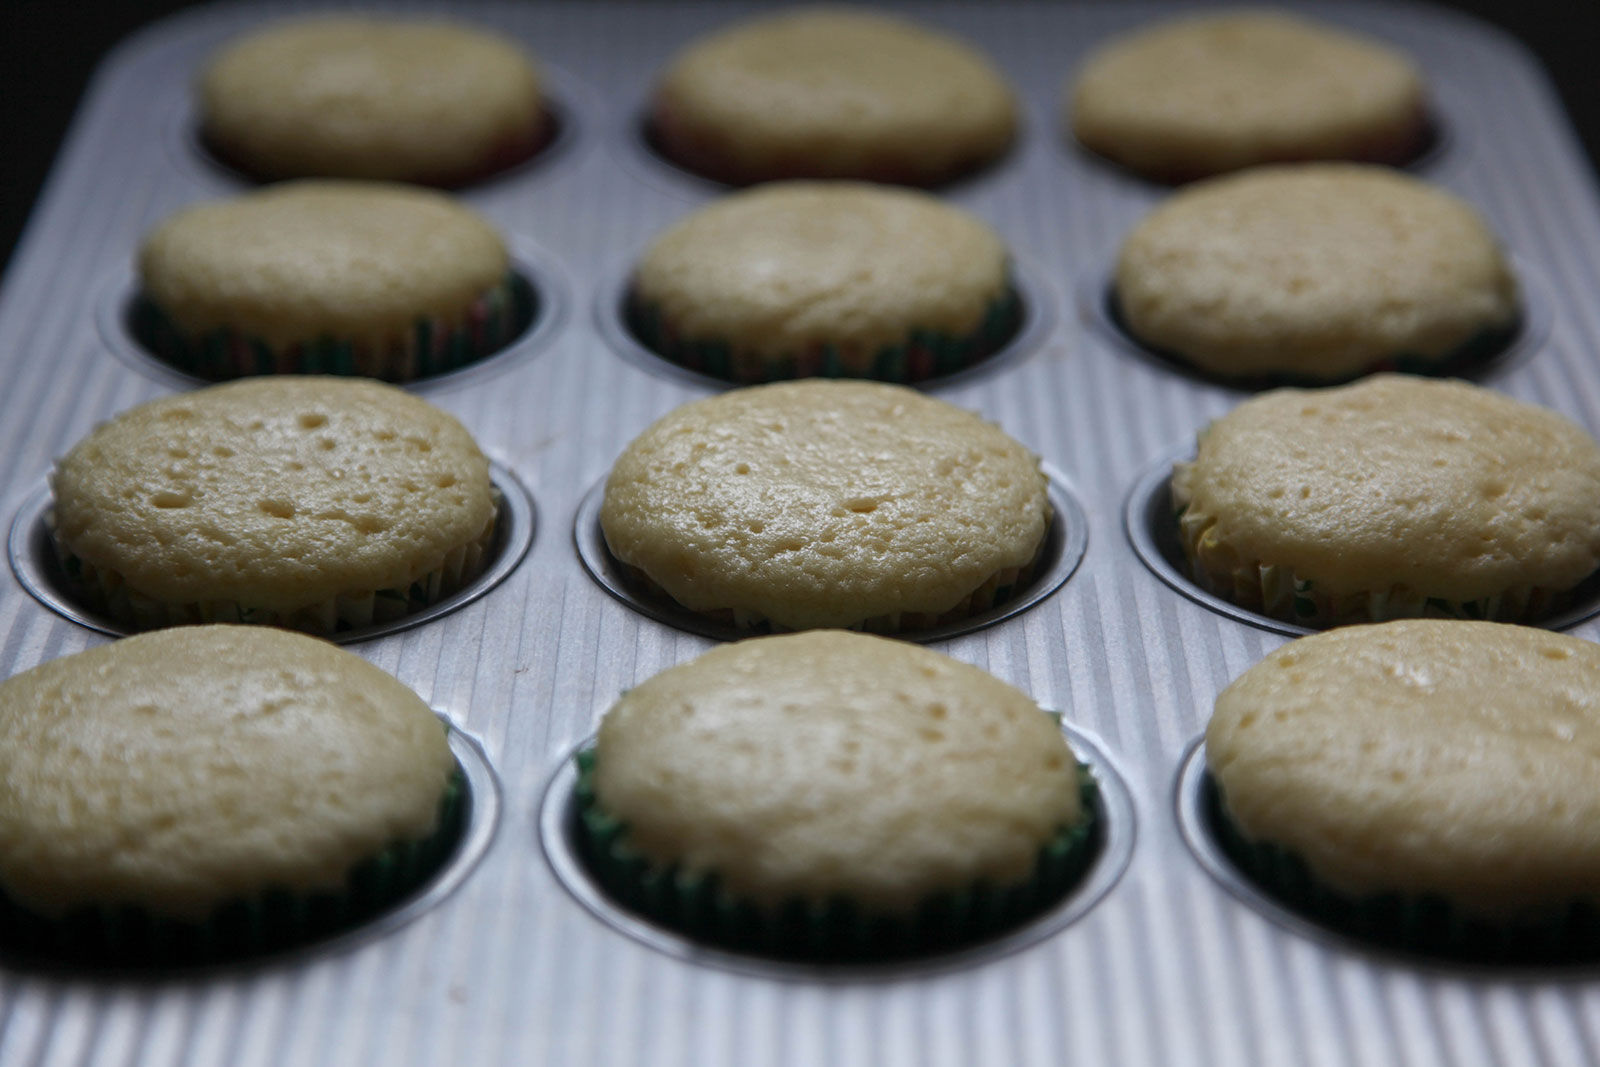
While the cupcakes are very easy to make, one important thing to note is not to overbake them. 20 minutes in the oven is just the right amount of time (ovens do vary though, so if you must, then keep them in for a max of 25 minutes). If you keep them in too long the cupcakes will dry out and you won’t get those delicious moist fluffy cupcakes. When you take the cupcakes out of the oven, make sure to leave them in the pan for 15 minutes; they’ll continue to cook in the hot pan.
One other baking tip I’d like to share is do take the cupcakes out of the pan after 15 minutes and cool them on a wire rack, or somewhere where the air can circulate around the bottom. If you leave them to cool in the pan, they will dry out.
The cupcakes need to cool completely before you can add icing. Otherwise the icing will melt. Wait a couple of hours after baking, that’s sufficient time.

When preparing the icing, it’s important to get the consistency right. If it’s too warm or loose, the icing will melt or not hold the shape. If it’s too hard, it’ll be hard to squeeze out and will be crumbly. I started with the recommended minimum 6 cups of powdered sugar, prepared the icing and tested it by practicing some decorations on a plate. I kept adding little bits of icing sugar to it, about 2-3 tablespoons at a time until the shapes held nicely. More so than the actual decorating, this is what took the longest amount of time for me, to get the consistency right.
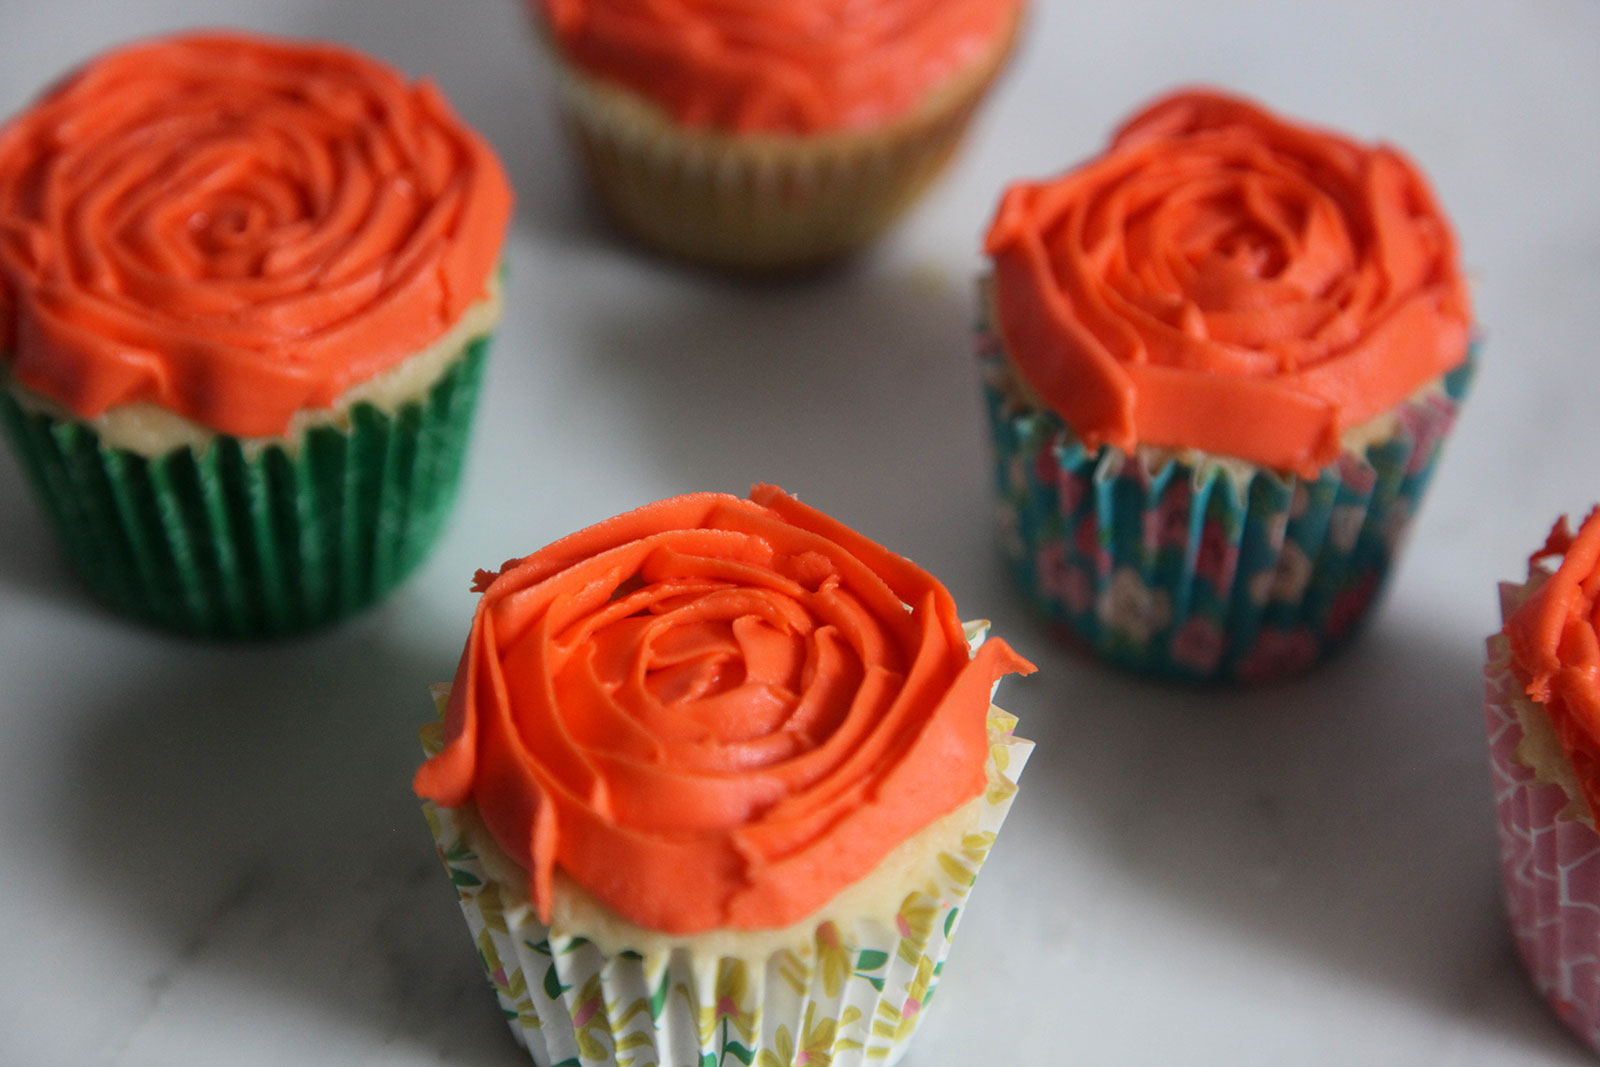
The decorating itself is enjoyable, so have fun with whatever designs you want to create. There are lots of cupcake related Instagram posts for inspiration. It’s a good idea to spend a little bit of time exploring and thinking about what you might want to create, before you start baking and decorating. If you’re interested in making the rosette shapes, watch this video. This shape is beautiful and looks so professional! Practice a couple of times on a plate until you get the hang of it. And then it’s actually quite easy and fast to decorate each cupcake. I used tip #103 for this shape. Make sure to hold the bag at around a 45-degree angle!

The sunflower decoration that I did was a particularly huge hit with the various neighborhood people who stopped by the garden during the bake sale. People ooh-ed and aah-ed over them, said they were too beautiful to eat, and these sold out fast. While this looks particularly elaborate, it’s all about layering the same simple leaf shape (I used tip #67 to create the yellow petals), so it’s actually not that difficult (watch this video to see the technique). For the center, it’s best to make little tiny dots (I used tip #2 for the center dots).
Once I finished decorating a couple of cupcakes I noticed they were starting to melt a bit. So I put them in the fridge for about an hour until the icing set and hardened a little. Then I took them out and stored them overnight at room temperature (leaving them in the fridge too long will harden the icing too much, as well as dry out the cupcakes and make them unpleasant). If you’re making these the day before you plan to serve them, store in an airtight container. I used a large container with airtight lid and also my cake stand with a dome cover.
I love these moist fluffy cupcakes with a cup of afternoon tea. They’re great with some bubblies too if you want to bring them along to an outdoor picnic or birthday party.


Moist, Fluffy Cupcakes with Vanilla Buttercream Icing
YIELDS: 24 cupcakes
INGREDIENTS
Vanilla Cupcakes
- 1.5 cups self-rising flour
- 1.5 cups all-purpose flour
- 1 cup (2 sticks) unsalted butter, softened
- 2 cups sugar
- 4 large eggs, at room temperature
- 1 cup milk (I use whole milk)
- 1 teaspoon vanilla extract
Vanilla Buttercream Icing
- 1 cup (2 sticks) unsalted butter, softened
- 6-8 cups confectioner’s sugar
- 1/2 cup milk (I use whole milk)
- 2 teaspoons vanilla extract
- Food colors, if you want to make decorations in multiple icing colors
METHOD
Vanilla Cupcakes
- About 2 hours before starting cupcake preparation, remove butter and eggs from fridge to warm to room temperature (butter will soften).
- Preheat oven to 350F.
- Line two 12-cup muffin tins/pan with cupcake papers/liners. (I have one 12 cup muffin pan, so I baked the first batch, cooled the pan and then baked the second batch).
- In a small bowl, combine the flours. Set aside.
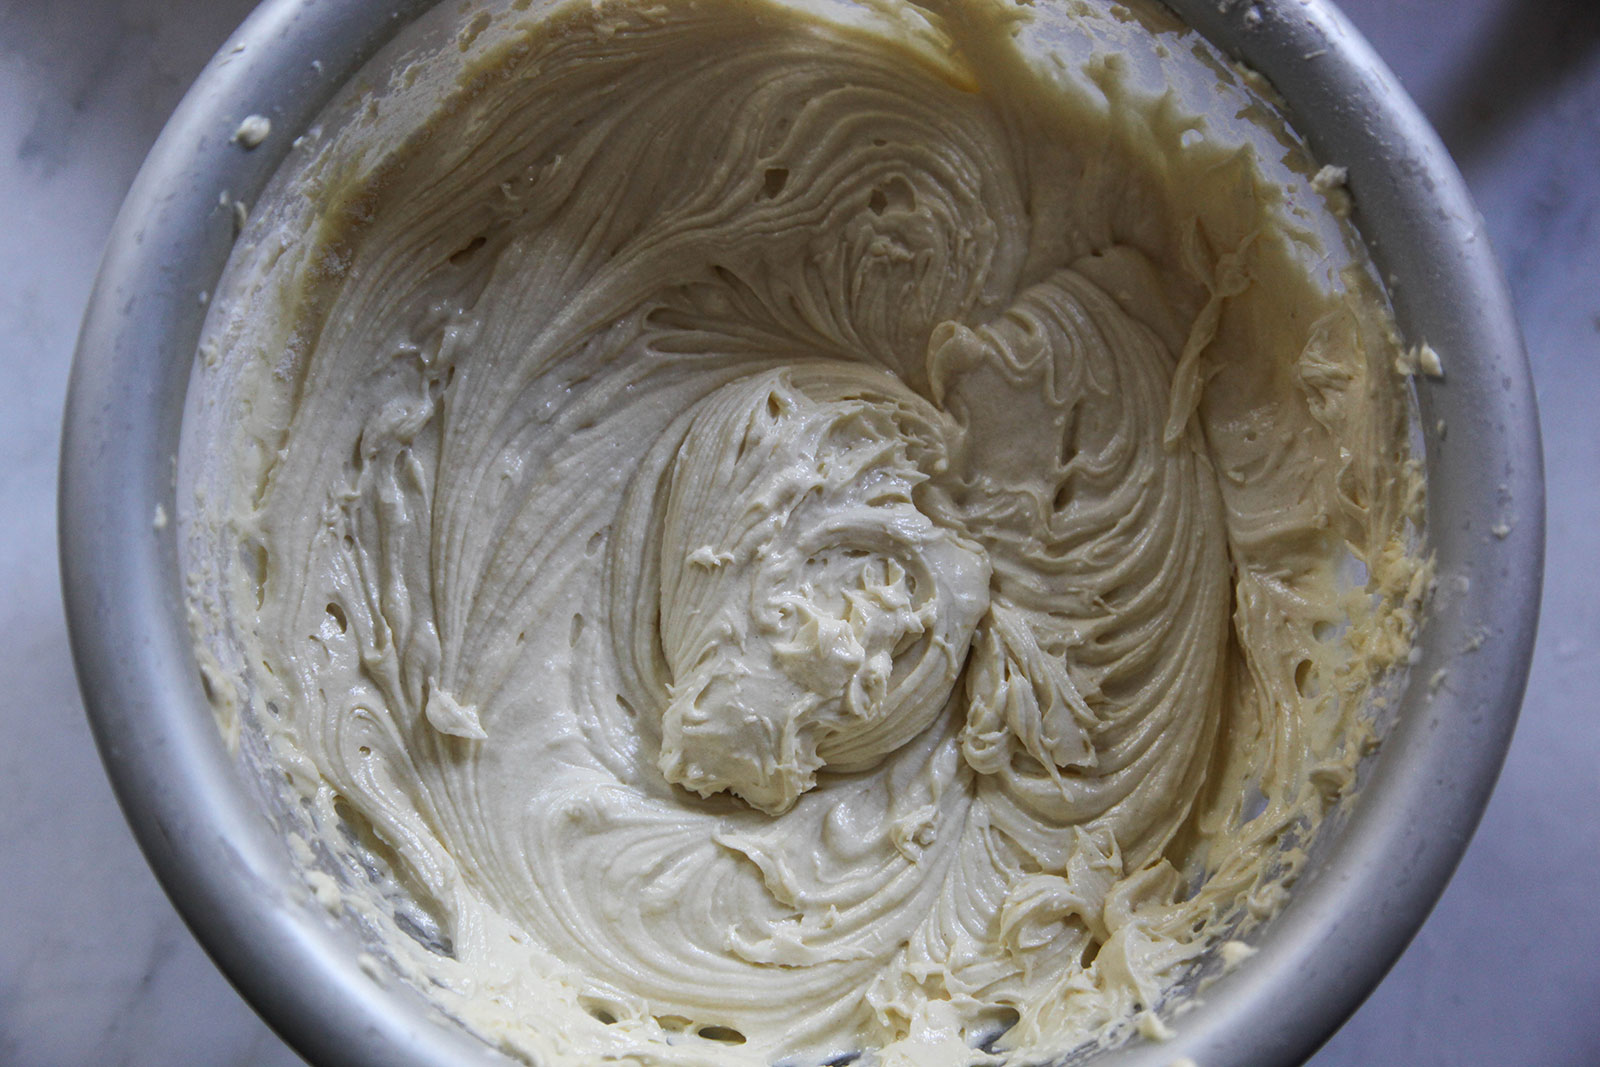
- In a large bowl, put the softened butter (it should be soft but not melted to a liquid form). Using an electric mixer on medium speed, cream the butter until smooth.
- Add sugar gradually to the butter and beat until fluffy, about 3 minutes.
- Add the eggs, one at a time, beating well after each addition.
- Add 1/3 of the flour mix to the large bowl, beat until the ingredients are incorporated, but don’t overbeat. Add 1/3 of the milk and vanilla, beat until the ingredients are incorporated, but don’t overbeat.
- Repeat step 8. i.e. alternate adding flour mix with milk and vanilla, beating each time until smooth, but don’t overbeat.
- Using a rubber spatula, scrape down the batter in the bowl to make sure the ingredients are well blended.
- Carefully spoon the batter into the cupcake liners, filling them about three-quarters full.
- Bake for 20-25 minutes. Magnolia’s recipe says until cake tester inserted into the center of the cupcake comes out clean. However, this has led to overbaking for me sometimes. I insert a small sharp knife to test; even if it doesn’t come out fully clean, I remove the pan from the oven, as the cupcakes will continue cooking in the hot pan for a while, and I’ll get the perfect moist fluffy cupcakes.
- Cool the cupcakes in the tins/pan for 15 minutes.
- Remove the cupcakes from the tins/pan to a wire rack. Cool completely before icing (about 2 hours).
Vanilla Buttercream Icing
- Add the butter to a large bowl.
- Add 4 cups of the sugar, and then the milk and vanilla.
- Using an electric mixer on medium speed, beat until smooth and creamy, about 3-5 minutes.
- Gradually add the remaining sugar , 1 cup at a time, beating well after each addition (about 2 minutes), until the icing is thick enough to be of good spreading consistency. You may not need all of the sugar.
Please note that after the first cup in step 3, I test the icing to do a bit of test decoration on a plate. If the decoration holds, no need to add more sugar. If it doesn’t, I add about 3 tablespoons of sugar at a time and mix until I get the right consistency.
If you want to decorate the cupcakes with multiple colors, like I did, take as much icing as you’ll need for a certain color and put in a small bowl.Add a few drops of the desired food color and mix thoroughly. You should add just a few drops initially and mix well until you get the deepness that you want. If you add too many drops, the icing could get much darker than you intended.
I made a few separate small bowls of icing, colored each bowl according to the colors I wanted. Then I put each icing color in its own piping bag, and decorated.
Store icing in an airtight container at room temperature if you’re not doing all the decoration right away. If you put it in the fridge, it will set and become hard.


I’m really impressed with your writing skills and also with the layout on your blog.
Is this a paid theme or did you customize it yourself? Either way keep up
the nice quality writing, it’s rare to see a great blog like this one
nowadays.
Hello, thank you for reading my blog. Regarding the design, I created/customized the design myself, and didn’t pay anyone.